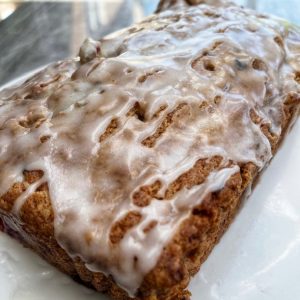
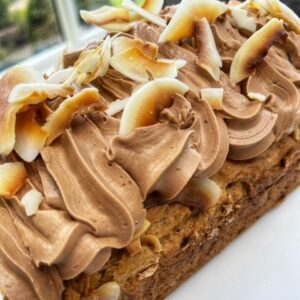
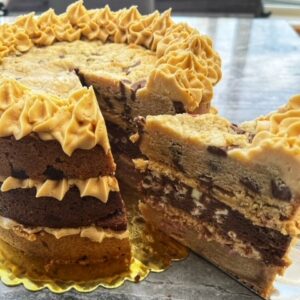
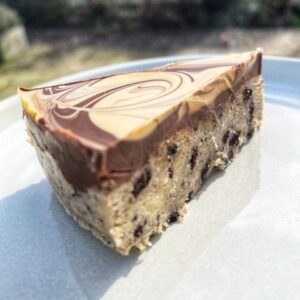
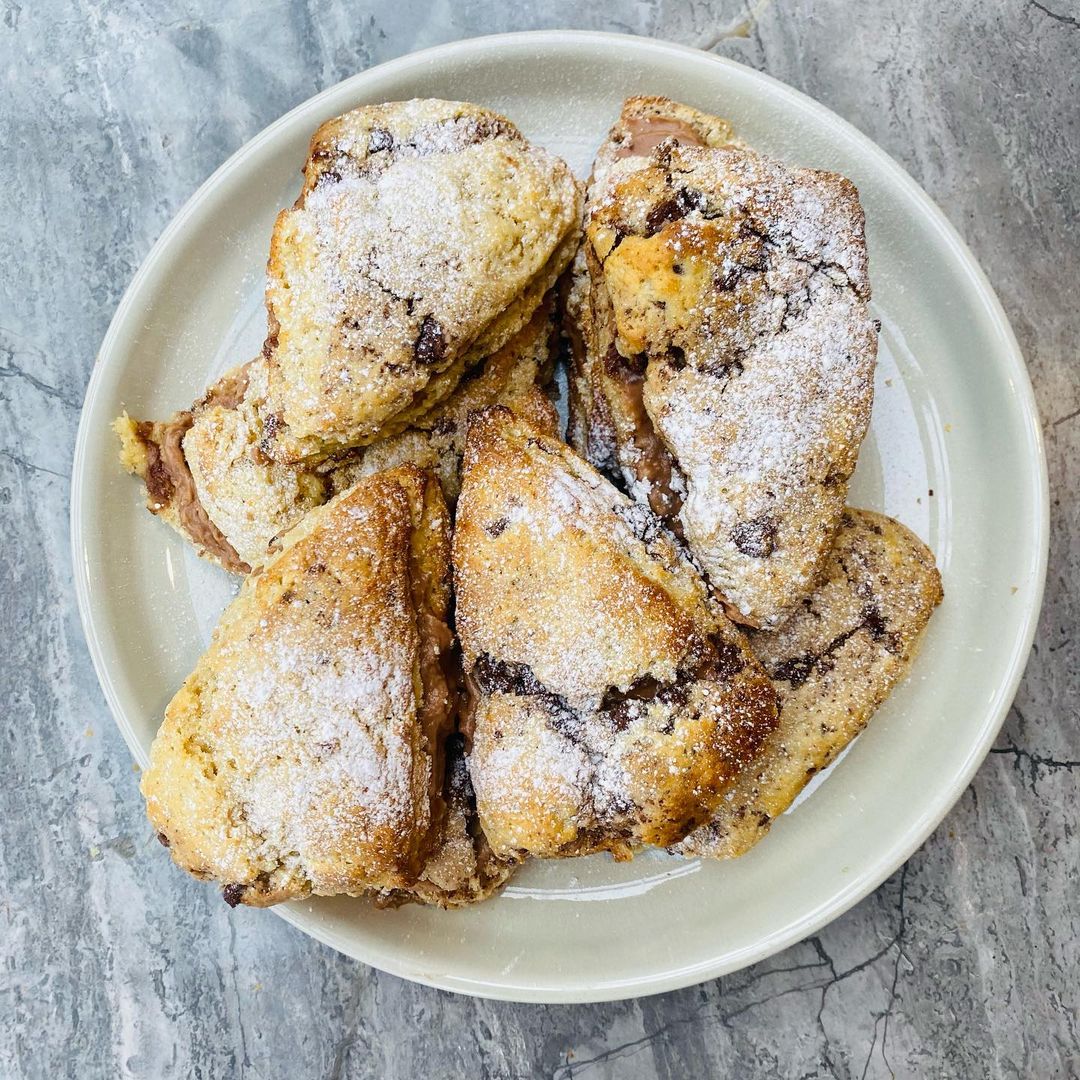
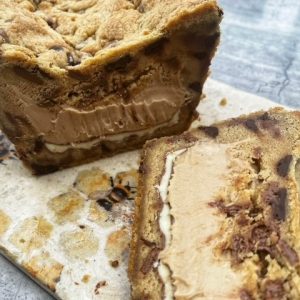
Kinder Filled Cookie Loaf
Kinder Filled Cookie Loaf
So this one is sooooooo naughty, but utter heaven if you love kinder and love cookies, I’ve taken inspo from so many images I’ve seen on insta for this, but what I prefer to the “cookie pies” I’ve seen plenty of is that you can portion out and slice much easier using a loaf shape, I’ve also found the bake time to be really consistent this way too. It’s an extremely easy recipe too!
If you can’t get hold of the white chocolate hazelnut spread, you can easily swap out for Nutella instead, it works just as well. You can by the white chocolate hazelnut spread from Morrisons, I have linked here
Top tip: Take the time to line your tin, it makes it so much easier removing it.
INGREDIENTS
200g unsalted butter
220g light brown sugar
105g granulated sugar
1 large egg
1 large egg yolk
1 tsp vanilla essence
430g plain flour
2 tbsp cornflour
1 tsp bicarb of soda
Pinch of salt
350g milk chocolate chips
600g white chocolate hazelnut spread
10 kinder chocolate mini bars here
METHOD
1. Line a loaf tin with greaseproof paper make sure the sides are overhanging, this makes it easier to remove later and preheat the oven to 180 degrees fan.
2. Beat together your unsalted butter and sugars until light and fluffy. Add in the egg, egg yolk and vanilla extract and beat until combined.
3. Add flour, cornflour, bicarb, salt and beat again until a dough is formed
4. Add in chocolate chips and beat until fully combined
5. Line the base of the tin with roughly a just under a 1/3 of the dough, then use another 1/3 to line the sides to make in effect an open cookie pie.
6. Lay the 10 mini Kinder bars on top of the cookie base evenly spaced.
7. Spoon in the white chocolate hazelnut spread on top of the Kinder bars and fill the cookie pie.
8. Use the final just over a 1/3 of the cookie dough to make a lid and secure to close the pie.
9. Place in the oven on the middle shelf and cook for 25 minutes, the top should be a golden brown.
10. Remove from oven, leave in the tin 40 minutes, then once the tin is cool enough put the tin in the fridge and leave there for 4 hours to set.
11. Once it is set remove from the fridge, using the over hanging edges of the greaseproof remove from the tin and slice to serve.
12. It’s absolutely beautiful served with ice cream.
Store in the fridge!
ENJOY! If you opt for Kinder Filled Cookie Loaf, please do share a picture!