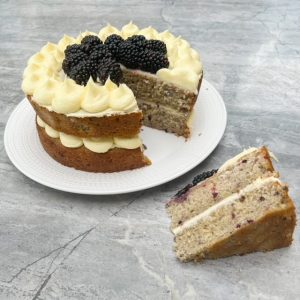
Jubilee Blackberry & White Chocolate Cake
Jubilee Blackberry & White Chocolate Cake
INGREDIENTS
BLACKBERRY CAKE
• 300g unsalted butter
• 300g caster sugar
• 100g fresh blackberries
• 5 large eggs
• 300g self-raising flour
• 1/2 tsp vanilla bean paste
• 50g Greek yoghurt (full fat)
ICING
• 100g white chocolate melted and cooled
• 250g unsalted butter
• 350g icing sugar
• 1/2 tsp vanilla bean paste
DECORATION
• 100g blackberries
METHOD
- Grease and line 2 x 20cm round springform cake tins and preheat the oven to 170 degrees fan.
- Beat together your unsalted butter and sugar until light and fluffy. Add in the eggs and beat until combined.
- Add the blackberries, vanilla bean paste and Greek yoghurt and beat again until fully combined and the blackberries have completely broken down
- Add flour, beat again until smooth.
- Divide equally between the two tins
- Bake both cakes on the middle shelf for 30-35 minutes or until a skewer comes out clean.
- Remove from oven, leave in the tin for 10 minutes then transfer to a wire rack to cool completely.
- To make the buttercream, beat the butter until pale and fluffy, then add the icing sugar, white chocolate and vanilla bean paste and beat again until soft and creamy.
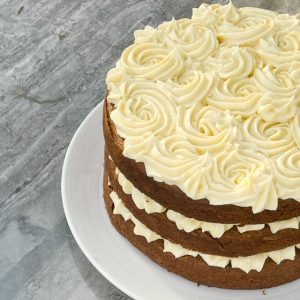
To Assemble
- Start with one layer of the chocolate cake on to a cake board or plate, put a generous layer of buttercream across the top, then put another cake layer on
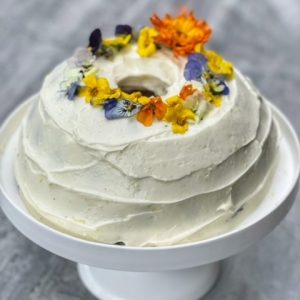
- Pipe or spread the remaining buttercream on to the top of the cake and decorate the centre with the remaining blackberries
ENJOY! If you opt for Blackberry & White Chocolate Cake, please do share a picture!